Thursday 27 June 2013

{thai inspired chicken sausage rolls in hermie}


There are some foods at parties that are always a winner and this is one of them. I first stumbled upon the original Thai inspired Sausage Rolls in one of my recipe books and since trying out the recipe have tweaked it slightly. They are super delicious and have been a staple for most birthday parties at home. They are popular with both the little and big ones and have evolved into an easy lunch for little Miss 3 and a half. 

1/2 bunch coriander, chopped in half
2 slices of day old bread
500 grams chicken meat (thigh or breast), cut into 3cm chunks, frozen for 2 hours
1 teaspoon cumin powder
1 teaspoon coriander powder
2 tablespoons sweet chilli sauce (optional)
12 Asparagus spears from a tin (or if using fresh, blanch until they are nearly soft)
3 sheets puff pastry
1 egg, lightly beaten
sesame seeds for sprinkling on top

sweet chilli sauce for serving

1. Preheat oven to 200C. Get puff pastry out of freezer as it will be easier to work with later.
2. Put coriander and bread into TM bowl and chop 15 sec / speed 5-6. This will make your bread crumbs. If they are still too chunky, blitz in 3 sec intervals until it looks ok. Put aside in a large bowl.
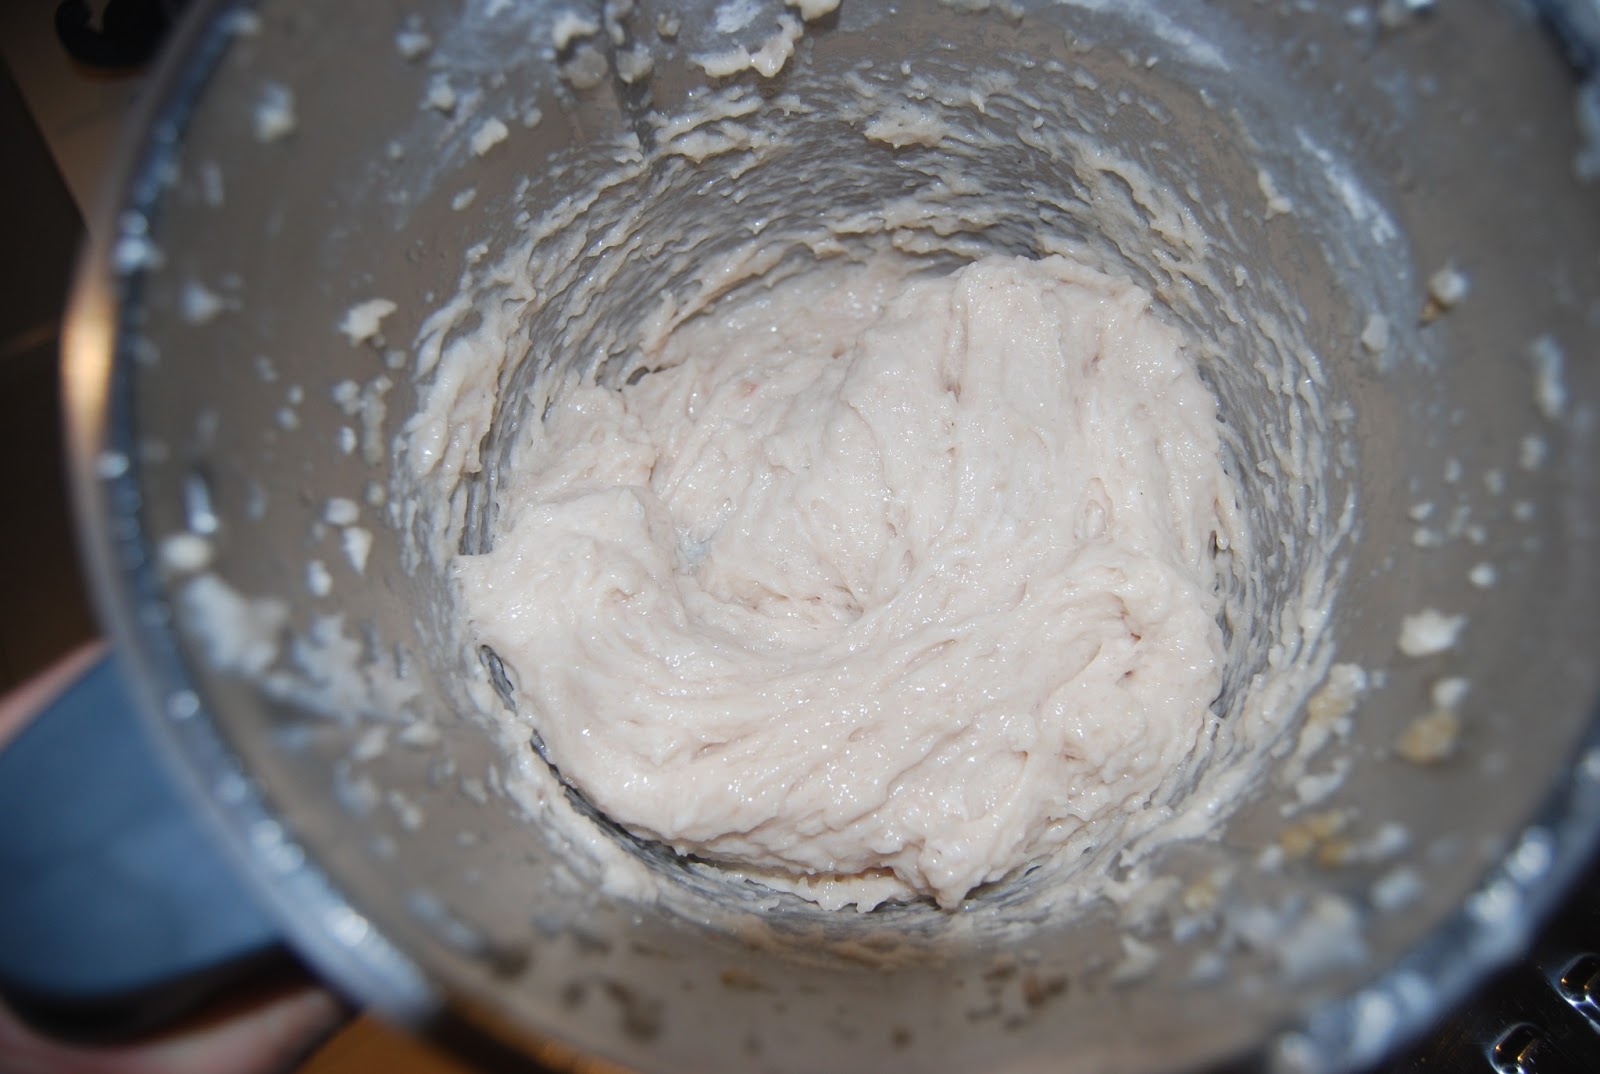
3. Place 1/2 the chicken in the TM bowl and mince 10sec / speed 7. Place in bowl with bread crumbs and coriander. Repeat with remaining chicken.


4. Add cumin, coriander and sweet chilli sauce to chicken in bowl. Mix all together with a spoon or your hand.
5. Place 1 sheet of the puff pastry onto a clean surface. Cut in half. Divide the chicken mince into 6 portions. Use 1 portion and spread in a long sausage shape down the middle of half the pastry sheet. Put 2 asparagus spears along the mince. Fold the pastry over the mince and seal tightly. Cut into 6 portions (or 4) and put on a baking tray. Brush with egg and sprinkle over sesame seeds. Repeat with remaining pastry and chicken mix.


6. Place trays in oven and bake for 30 minutes or until golden brown and chicken is cooked inside. Serve with sweet chilli sauce.

Makes 36 bite sized sausage rolls.

Bon appetit xx

Tips: This can easily be made with store bought chicken mince. If you don't have a Thermomix, use a stick mixer or food processor to make the crumb mix and proceed from there. Also, these rolls are suitable to freeze either uncooked or cooked. If uncooked, then complete up to step 5 but leave the egg wash and sesame seeds until you are ready to cook straight from the freezer.

Tuesday 25 June 2013

{dinner.. steamed fish with asian herbs + garlic chive omelette in hermie}


With a young family, easy, healthy and quick meals are a must. This dinner combination is one of those for me to make and is super tasty and not too 'heavy'. The fish is based on a classic steamed fish dish that you can find in most Cantonese restaurants and is usually a whole fish. As my husband and children are eating this, I'm using fillets which do not have bones and also fit easier in the Varoma.

I must admit, this meal combo is for a small family so if there are more mouths to feed, then add another dish such as plum sauce and ginger chicken drumsticks that can be done in the oven at the same time (recipe to come).

Omelette & garlic chives:
1/2 bunch of garlic chives, cut 1 inch pieces
1 tablespoon vegetable oil
3 eggs
1 tablespoon water
salt
pepper


1. Add chives and oil into TM bowl and saute for 7min/ Varoma/ reverse/ stir speed.
2. Meanwhile, beat eggs with fork in a small bowl until a little frothy. Add salt and pepper and a tablespoon of water if required.
3. Ball up a piece of baking paper and lay out over the Varoma tray steamer. Place sauteed chives over this in a thin layer.
4. Pour over eggs and set aside.

Steamed fish with ginger, coriander & spring onions:
40 grams ginger, cut into matchsticks
1 bunch (or 1/2 a large bunch) coriander, roughly chopped
3-4 spring onions, cut into 1 inch pieces
350-400 grams white fish fillets (e.g. ling, blue grenadier, whole rainbow trout)
1 tablespoon fish sauce
1 tablespoon vegetable oil
5-10 drops sesame oil


1. Put 1/2 of the ginger, 1/3 of coriander and 1/3 of spring onions in a flat base bowl that will fit into the Varoma.
2. Place fish fillets on top.
3. Put remaining ginger, 1/3 of spring onion and 1/3 coriander on the top. 
4. Season with fish sauce, veg oil and sesame oil. 
5. Place in Varoma bowl and put the prepared Varoma tray on top.

To cook both dishes:
1. Place water in TM bowl up to 1st marker. Heat 6min/ 100C/ stir speed.
2. Put Varoma on to of TM bowl. Steam fish and omelette 10min/ Varoma/ speed 4.
3. Check if fish and egg are cooked. If not, cook an extra 1 min and check again.
4. Drizzle a small amount of soy sauce over the omelette to taste.

Optional:
Heat up 50-75ml of veg oil on the stove until smoking. When the fish is finished, place remaining fresh coriander and spring onion on top and top with hot oil (careful… it will sizzle). This adds a nice gloss and freshness to the fish :-)


Serve with steamed rice. 

Bon Appetit xx

Serves 3.

Tips: 

If you want to be super efficient, you can cook the rice in the TM bowl while you are steaming these dishes. Follow the instructions in the "Everyday Cooking" cookbook from Thermomix and when the timer is 10 minutes from the end, place the Varoma on the top. I myself like to use an old fashioned rice cooker :-) 

Also, if you want to add even more flavour to the omelette, you can add chinese sausage (lap cheong) by slicing thinly and sautéing with the chives in step 1 above of the omelette method.

Wednesday 19 June 2013

{bouncy chinese fish balls in hermie}


When I was growing up, I always wondered what other non-Asian families would have for lunch on weekends. In my house, we definitely did not have sandwiches but my mum always made something hot such as laksa, congee, fried rice, roti & rendang or fish balls with noodles. The last being one of the old time favourites that I have still enjoyed into adulthood. 

Having said that, on my journey to finding out what my food intolerances are, I have found that my love of fish balls could be no more due to nearly all commercial varieties containing MSG, other nasties and not that much fish. Hence, my quest to try and make a homemade version that was just as tasty and more importantly, 'bouncy'. Bouncy does not mean rubbery and a good test is if you squish one in your fingers and there's a little spring to the meat.

I have tried making these in a food processor and some manual handling but just cannot get it right. The Thermomix has changed all this and with little effort, I can now make up a batch of bouncy fish balls that are 'nasty' free. The proof is in the eating!

550-600grams white fish (I used Spanish Mackerel as it is quite an oily fish. Any other oily fish would be good too), cubed 3-4cm, frozen for 1-2 hours
1 tablespoon fish sauce
1 tablespoon soy sauce
1/2 teaspoon salt
1/2 tablespoon sugar
1/2 tablespoon oil
2 tablespoons cornflour
1 teaspoon baking powder
40-50 grams water
sprinkle of white pepper
1 spring onions (optional), cut in half
2 litres water (for cooking fish balls)

1. If using spring onion, place into TM bowl and chop 3-4 sec / speed 5. Set aside.
2. Put a pot on the stove and start boiling the water.
3. Place 1/3 or 1/2 of the fish into the bowl and close lid. Pulse closed lid position / turbo/ 4-5 times. Put aside in another bowl. Repeat with remaining fish.
4. Return all fish into TM bowl and add in all other ingredients. Blend 1min / speed 9.
5. Then, knead 1min/ interval speed. This replaces the hard manual labour part if you're making these without the Thermomix. It's what makes them 'bouncy' due to the proteins being worked (correct me if I'm wrong people). At this stage we have fish paste which will be used to fish balls but can also be used for other things like making fish cake (for fried rice, noodles etc) or in Yong Tau Foo.


6. To make the balls, put some fish paste in your hand and form balls by squeezing through the index finger and thumb and scoop off with a teaspoon into boiling water.
7. Simmer the balls until the float to the top (about 5 minutes). Note, they will expand a little.


8. Transfer to a bowl of cold water for 10 minutes. Serve with some seasoned egg noodles, blanched green veg (e.g. choy sum, bok choi) and chilli sauce OR, in a fish ball noodle soup.

Makes about 40 ping pong sized balls.

Bon Appetit xx

Tips: When making the balls with your hand, use a food handling glove. It may make the fish paste stick more however you won't be left with a fishy smelling hand the rest of the day. These are also suitable to freeze.

Note: the batch in the picture above does not have the spring onion in it :-)

Tuesday 18 June 2013

{sticky ginger pork spare ribs in hermie}


I always make this  dish on the stove top and after a couple of hours, the pork is covered in a yummy, sticky sauce that goes perfectly with steamed rice and a vegetable dish. I wasn't sure if the Thermomix would be able to replicate the caramelisation however, I think the dish has worked out well if not slightly different.

Big thumb of ginger, peeled
500-600 grams of pork spare ribs (NOT American style), cubed 3-4cm
1 tablespoon vegetable oil
35-40 grams dark soy sauce (kecap manis)
100 grams water
2 tablespoons sugar

1. Place ginger in TM bowl, Chop 3sec / speed 5. Scrape down sides of bowl.
2. Add pork and oil to bowl. Saute 10min / Varoma / stir speed / reverse. The only reason why we are adding oil here is so that the ginger does not burn. In the latter stages of cooking, a lot of the pork fat will render out making the meat really tender.
3. Add soy, sugar and water. Cook 30min + 30min/ 100C / stir speed / reverse.
3. At this stage, there will be quite a bit of liquid at the bottom and we want to reduce this. So, cook a further 25-30min / 100C / stir speed / reverse.
4. Serve with rice and a dish of green vegetables.

Serves 4 as part of a shared meal.

Bon Appetit xx

Note: After eating this dish, I'm not sure if the Thermomix does the original stove top version justice. The meat does not stay in tact with its layers of meat and fat due to the constant stirring of the blades and instead ends up slightly shredded with not as much caramelisation. However, the meat is still very moist and full of flavour and passes the 'husband finds it super yummy' test. So instead, it has inspired me to use this meat in a 'Pulled Pork & Slaw style burger'. Watch this space for the rest of this future recipe :-)

Monday 17 June 2013

{everyday vanilla ice-cream}


In my household, we like to eat dessert. Sometimes it is just fruit and most of the time, it is a great tool to get my 3.5yr old little one to eat their main meal! One of our favourites is ice cream. My issue with supermarket ice cream is that there are so many unnecessary additives and ingredients added that I feel bad eating them let alone feed them to my children. For example, why does colouring need to be added to vanilla ice cream when the natural colour is how it should be (see above picture). Now with the Thermomix, I can make my own without adding the 'nasties' and I don't have to spend an extra $200-$400 for an ice cream maker...

2 egg yolks
500 full-fat pouring cream (I use Bulla to support an Australian owned company)
150g castor sugar (I find this a bit sweet so would probably add 120-130g)
1 vanilla bean, halved & insides scraped
pinch of sea salt

1. Place all ingredients into bowl. Cook 6min / 80C / speed 4.
2. Remove vanilla bean and pour mixture into container with cover. Put in freezer for 5-6 hours until set wobbly.
3. Remove from freezer and cut into ice cube size pieces (if required. Mine was still a bit watery). Put in mixing bowl and blend 20sec / speed 9 then 10 sec / speed 4. 
4. Pour back into container and freeze overnight before serving.

Bon appetit xx

Makes about 600ml or 8 portions.

Stay tuned... i'm thinking my next batches will be chocolate and pistachio :)

This recipe is based on the "Everyday Cookbook" by Thermomix with some tweaks here and there.

Sunday 16 June 2013

{soya sauce chicken in hermie}


For as long as I can remember, I have been eating a version of this chicken for dinner with my family. However, it has usually come from one of those Chinese BBQ meat places in Chinatown that have other assorted meats hanging in the window. Although I have attempted to make this at home the traditional way with a pot on the stove, somehow, this Thermomix version is easier still. The hardest part is chopping the chicken up at the end 'chinese' style without hacking it to pieces.

120 g soy sauce
150 g dark soy sauce
4 tablespoons shaoxing wine
15 ginger, peeled, sliced (I like mine quite strong so even more the better)
3 cloves garlic, peeled
3 star anise
2cm cinnamon stick (I just use the whole stick)
1.5 tablespoons sugar
900g boiling water
1-1.2kg whole chicken with parson's nose removed (depending on your chicken, i also remove as much fat around the neck part)
3 spring onions, cut in 10cm lengths
1 teaspoon sesame oil
1/2 teaspoon pepper

1. Place sauces, wine, ginger, garlic, star anise, cinnamon, sugar and water into bowl. Cook 10min / 100C/ stir speed.
2. Place chicken bottom end down over into bowl around the blades. Do not tear the skin.
3. Stuff spring onions into chicken cavity.
4. Top up with boiling water so that sauce covers chicken as much as possible. Cook 30min / 90C/ stir speed. Place a bowl or mug over the hole in the top as MC will not fit. Chicken will rotate in the bowl whilst cooking.
5. After 30min, leave chicken in bowl for another 30-40 minutes to continue to poach. Remove.
6. Chop 'chinese' style through bones and all to serve seasoned with sesame oil and pepper.

I like to serve this with rice and some simple green vegetables steamed and gently seasoned with a sprinkling of sesame oil and oyster sauce. This can be done in the varoma while you are chopping up the chicken. For hardier vegetables such as bok choi or gai lan (using the stock as the steaming liquid) 10-12min / varoma / speed 3 for softer vegetables (e.g. cos lettuce) 3-5min / varoma / speed 3

Note: In my experience, the soya sauce chicken from shops usually looks a bit darker and this is probably due to the brand of sauces that they use. I personally do not like using MSG in my cooking (due to a food intolerance) and find that the AYAM brand does not contain it. However, it is not as dark and strong in flavour and this is probably why my chicken is not as dark but still just as flavoursome.

* Above recipe is originally printed in the "A Taste of Asia" Thermomix cookbook available here

Saturday 15 June 2013

{cucumber & tomato salad in hermie}


This salad is great on it's own on a summer night however, my family also serve it whenever it is curry for dinner. The natural yoghurt acts as a chilli 'dampener' for the tongue (much better than water) and my little 3 year old finds it quite effective.

170-200g continental cucumber (~ 3/4 of a cucumber)
120g tomatoes (~1-2 tomatoes or 7-8 large cherry tomatoes)
big handful of coriander
juice of 1/2 lemon
big pinch of salt to taste
3 tablespoons natural yoghurt
1 red chilli, finely chopped (optional)

1. Place all ingredients (except yoghurt and chilli) into Thermomix bowl. Chop 3-5sec / speed 4.
2. Drain away excess liquid. Pour into serving bowl and mix through yoghurt and chilli. Add more salt if required.

Bon Appetit xx

Tips: If your lemon has a lot of pips, exclude from the bowl and add through the lid once closed. When the MC is inserted, the juice will drain into the bowl as the MC will stop the pips. Also, it is perfectly OK to add the chilli in step 1, however, if you also have children eating this dish, it will be harder for them to pick it out. 

Notes: When this salad is diced up manually, it is not as watery and usually you do not have to drain away excess liquid. However, using the Thermomix changes this due to it's chopping technique. Also, the presentation may not be as 'pretty' however, the flavours are still great :-)

Friday 14 June 2013

{beans & carrots in hermie}


When I think of beans and carrots, nothing spectacular really comes to mind. Most people think of these vegetables as some steamed side-dish making up your 'meat and 3 veg' meal. Well, this side-dish although quite simple, is the perfect accompaniment to the lamb curry that I have previously posted about. 

1 carrot, roughly chopped
100g beans, topped and tailed
1/2 onion, peeled
big thumb of ginger, peeled
15-20g of vegetable oil (e.g. canola)
5g (1 teaspoon) mustard seeds
1 teaspoon turmeric powder
50-75g water
salt to taste

1. Place carrots and beans in bowl and chop 7sec / speed 4. Set aside for later.
2. Place onion and ginger in bowl and chop 5sec / speed 5. Scrape down. 
3. Add oil and mustard seeds and saute 5min / Varoma/ stir speed/ reverse. Scrape down bowl.
4. Add beans and carrots, turmeric, water and salt. Cook 8min / 100°C/ stir speed / reverse.

The final product should be tender yet have a little bite to it still. The beans should still be bright green with minimal gravy.

Bon Appetit xx

Notes:
Before I had the Thermomix, I used to chop the beans and carrots neatly and obviously, this leads to a 'neater' presentation. However, the dish i made tonight still had the same flavour and my family loved it.

Thursday 13 June 2013

{lamb curry in hermie}


This curry comes from my husbands side of the family. The method was taught to me by my mother-in-law and husband and i hope i have done the conversion in Hermie justice. If the wafts of curry in my house are anything to go by, then it tastes fantastic.
2-3 cloves of garlic, peeled
big thumb of ginger, peeled
1 onion, peeled, halved
1 cinnamon stick
10-12 curry leaves (optional)
30g vegetable oil
meat curry powder (if you’re not using your own, Baba’s is quite good)
600-700g cubed lamb
150-200g water
100g coconut milk (optional)
2 potatoes, 3-4cm cubed (optional)
salt to taste
1. Place garlic, ginger and onion into bowl. Chop 3sec/ speed 7. Scrape down sides of bowl.
2. Add cinnamon stick and curry leaves (if using). Add vegetable oil. Saute 5min/ Varoma/ stir speed / reverse.
3. Place cubed lamb into bowl. Put 2 large tablespoons of curry powder (or as much required to coat all meat). Add small amounts of water and mix until the powder turns into a curry paste all over the meat. This should be no more that 1/4 cup.
4. Add lamb to Thermomix bowl. Saute 5min/ Varoma/ stir speed/ reverse. Scrape down sides of bowl.
5. Add 150-200g of water to just cover the lamb. Cook 40min/ 100°C/ stir speed / reverse.
6. The curry will be quite watery at this stage so to thicken up, add salt, potatoes (if using) and further cook 15min / 100°C / stir speed / reverse with the MC removed. Taste and adjust salt if required.
7. If using coconut milk, add now and cook for 5min / 100°C / stir speed / reverse.
Serve with rice and other curry vegetable dishes.
Serves 4.
Bon appétit xx
Notes: Baba’s curry powder can be found in all good Asian grocers. It looks like this. This curry also works well with beef and chicken. Other great curry inspiration is found in Charmaine Solomon’s recipe books.

Wednesday 12 June 2013

{why i started this blog}

So, who wants to be original and start a blog? There are many blogs out there and who really wants to read my recipes, ideas and thoughts? Well, let’s find out.
I have waited a long time to buy a Thermomix and after a year of umming, ahhhing and saving, I have one in my hot (not so little) hands. I have to say that as someone who loves cooking and seeing the happy experience that someone gets (mostly family) from tasting my food, this is so far the best kitchen appliance I have ever bought. So much so that I have affectionately called it Hermie (hence the name of the blog).

My main style of cooking is Asian inspired (as i have Chinese heritage) however, I love to bake and make desserts as well as dabble in other styles of food. I have many favourite recipes that I use time and time again and I'm hoping that Hermie can meet my expectations and make them even easier to create! If not, there will be the odd recipe posted here that is cooked or baked using traditional methods.
Enjoy and happy reading! xx